
Last updated November 22, 2026
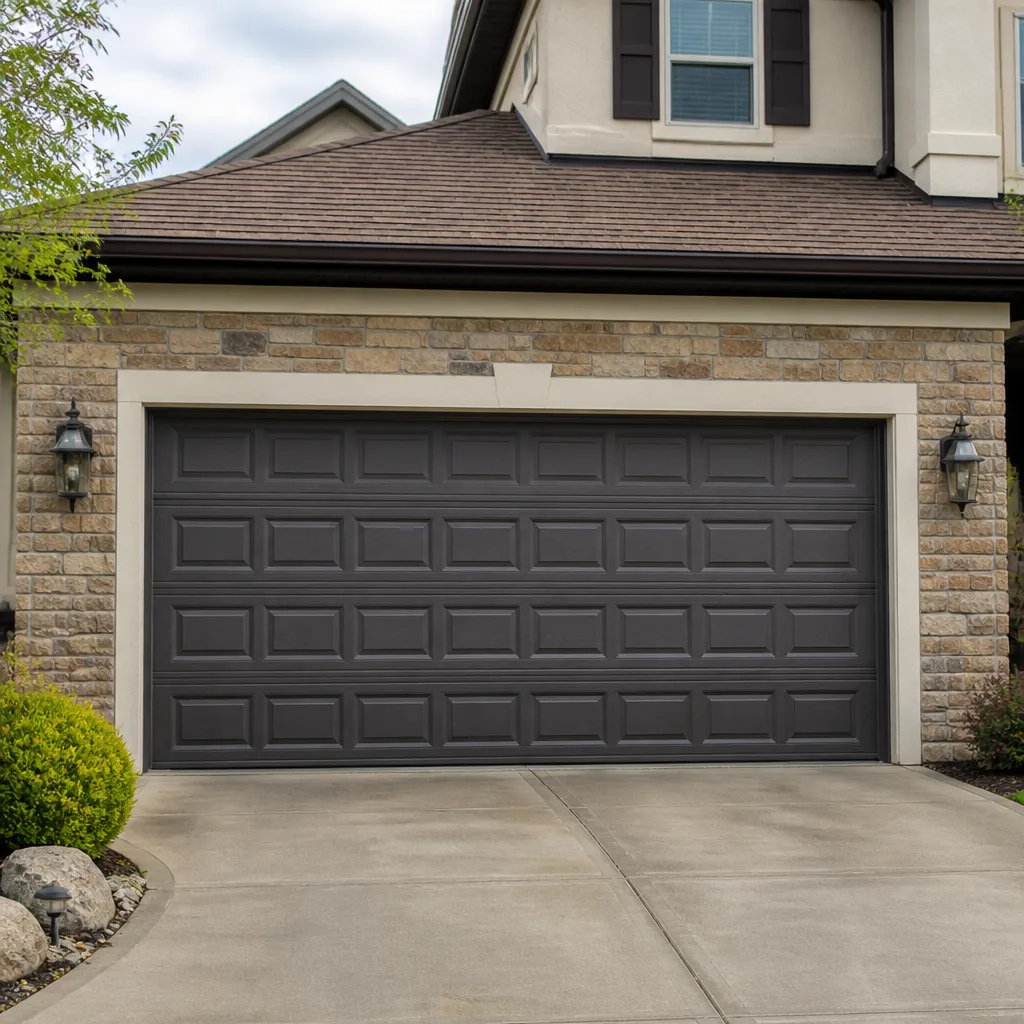 Raised-panel steel
 Carriage house
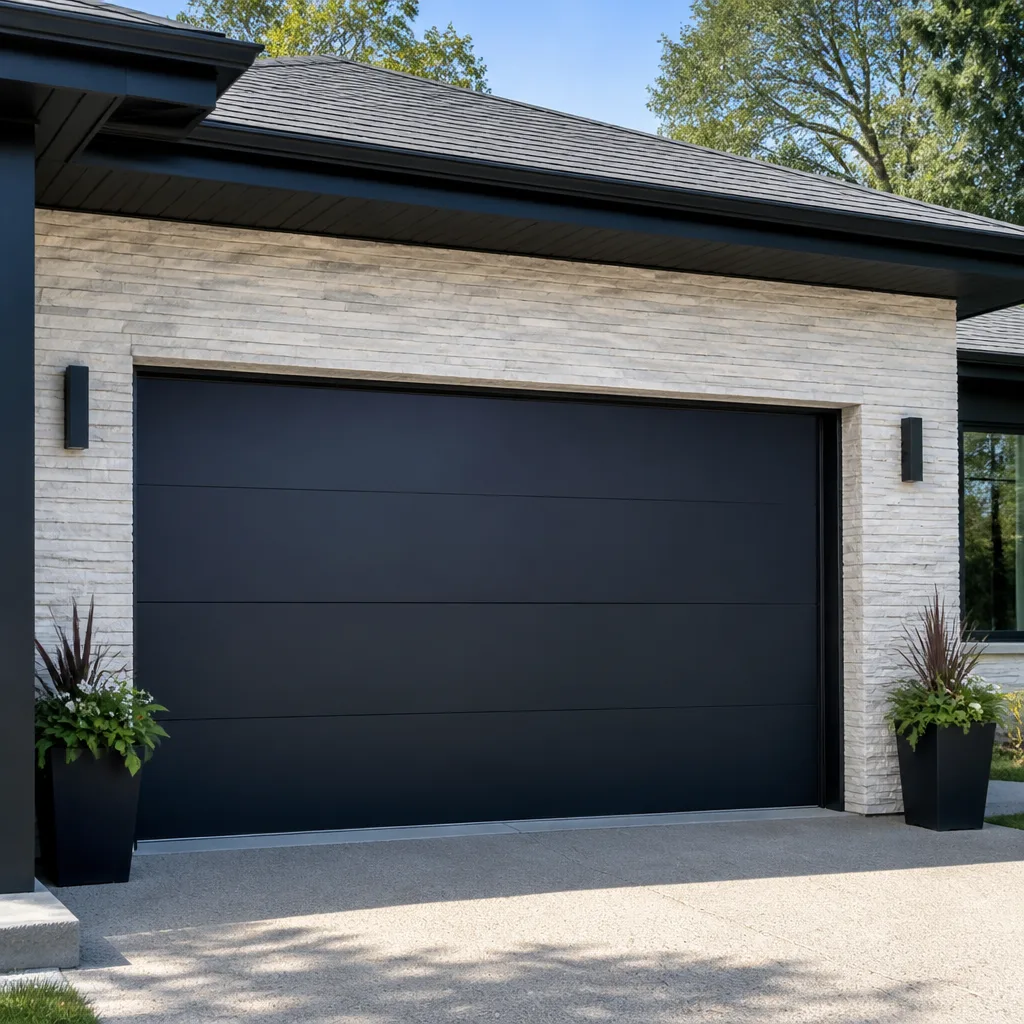 Modern flush
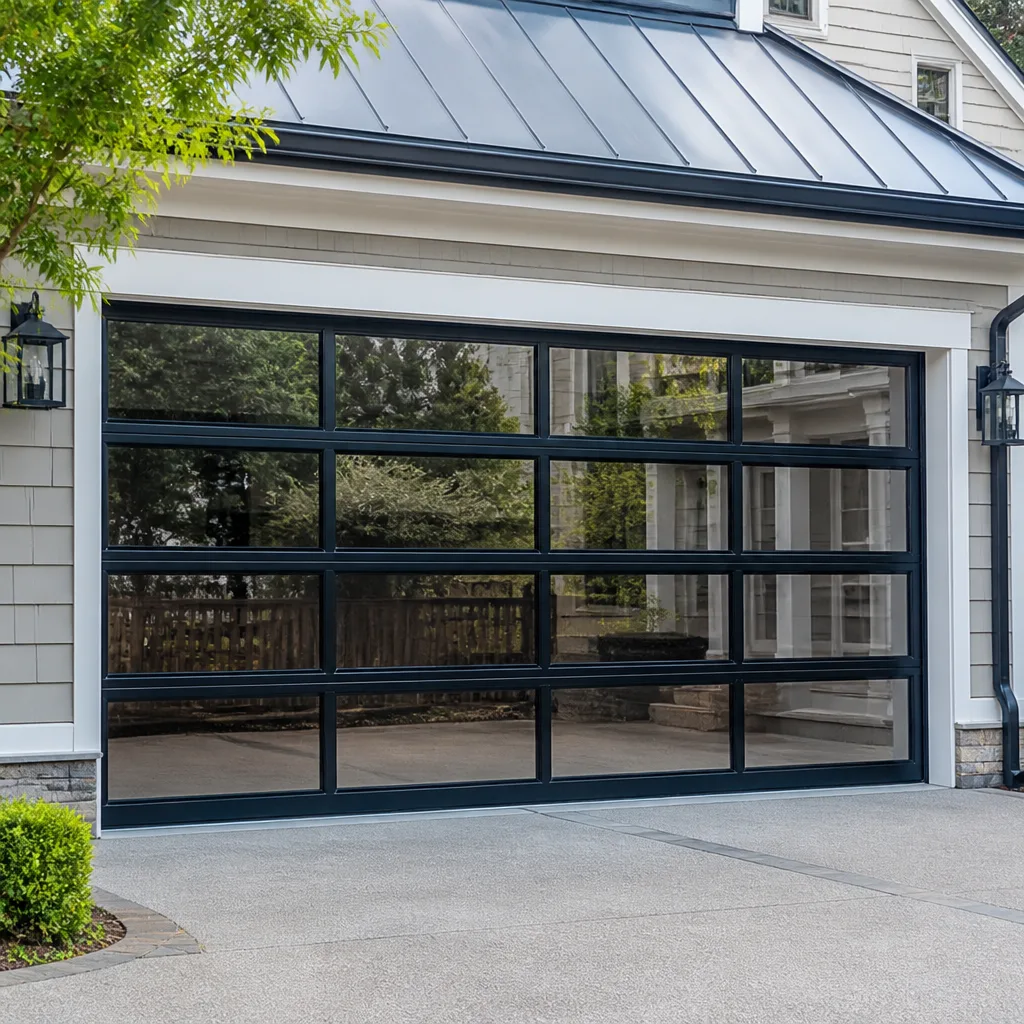 Full-view glass
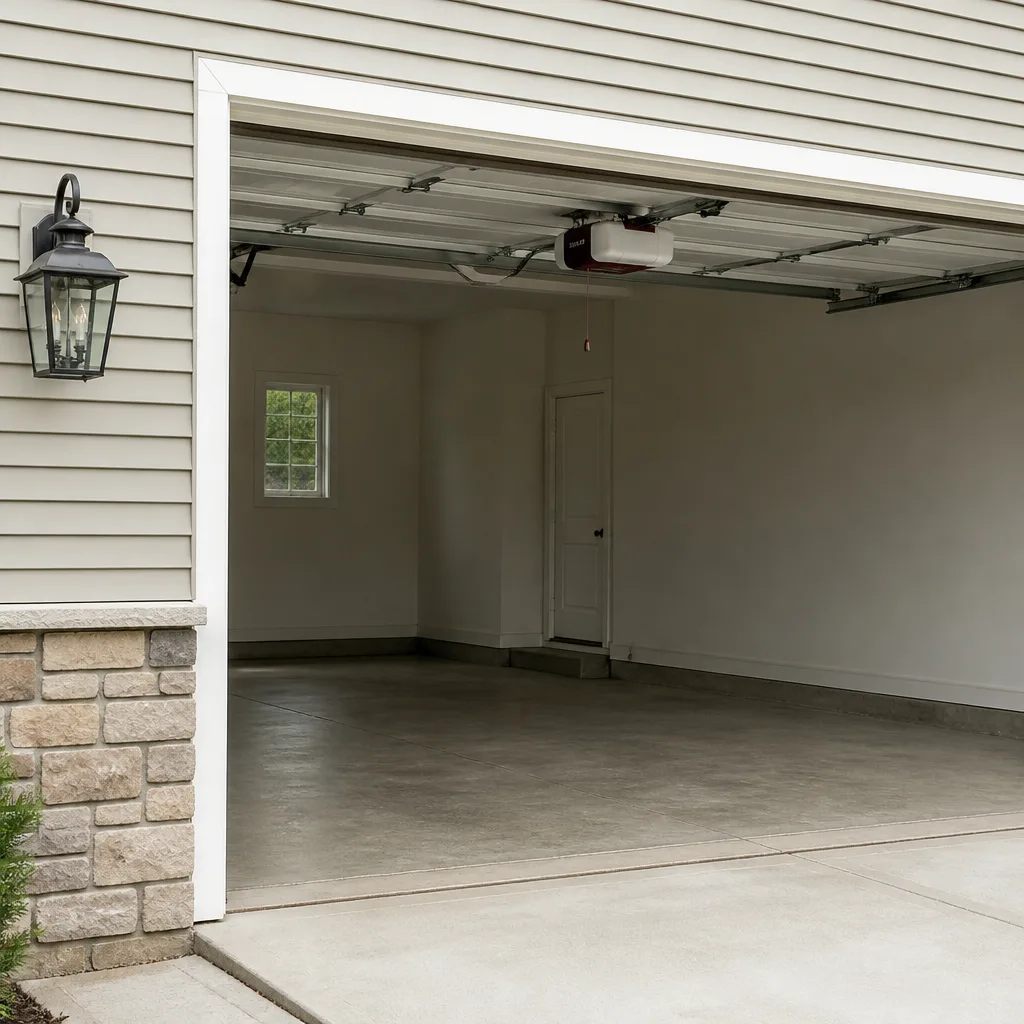 LiftMaster openers
 Chamberlain openers
Full 25-point door and opener safety check with every visit - springs, cables, rollers, tracks, and your LiftMaster or Chamberlain opener included
You get a price before we start. It does not change when the pro arrives.
Get your free estimateGarage Door Repair Maintenance Checklist for Miramar Homeowners
Most garage door checklists you’ll find online were written for a national audience, and they all say the same thing: lubricate the springs, tighten the bolts, listen for strange noises. That advice isn’t wrong, but it doesn’t account for what actually wears out a garage door in Miramar. Heat, humidity, and the salt that hangs in the air here attack the metal parts of your door in ways that a homeowner in a dry climate never has to think about. The coil of a torsion spring that would last years elsewhere can start pitting and then snap without much warning. Rubber seals go soft and split during the rainy season. Roller axles rust and start dragging.
What follows is a maintenance checklist built around those specific failure modes, with real part names, pass/fail criteria, and a clear line between what you can reasonably check on your own and what should be left to a technician. By the end, you’ll know exactly what to look at, how often, and when to pick up the phone.
Quick Answer
A workable garage door maintenance routine in Miramar has three layers: a monthly visual check of springs, rollers, and seals; a twice-yearly lubrication and hardware-tightening pass with a silicone-based or synthetic lubricant that holds up above 90°F; and an annual professional inspection of torsion springs, cables, and wind-load hardware. Anything involving spring tension, the cable drums, or the bottom brackets is a technician job. Everything else you can handle safely with your eyes, your hands, and a can of the right lubricant.
Styles & brands we work with
- Raised-panel steel
- Carriage house
- Modern flush
- Full-view glass
- LiftMaster openers
- Chamberlain openers
Table of Contents
- Why Miramar’s Climate Wears Garage Doors Differently
- The Monthly Walk-Around: What to Check in Five Minutes
- Corrosion Points That Matter Most in South Florida
- Lubrication: Why White Lithium Grease Falls Short Here
- Bottom Seals and Weatherstripping in Rainy Season
- Wind-Load Hardware: What Florida Code Requires and How to Check It
- How Often Should You Do Each Task?
- What You Can Do vs. What Needs a Technician
Why Miramar’s Climate Wears Garage Doors Differently
A standard residential torsion spring is commonly rated for around 10,000 open-and-close cycles. That’s the national figure, and it assumes a reasonably dry environment where the spring steel isn’t under constant attack from moisture. In Miramar, the picture is different. The air here stays humid for much of the year, and the moisture it carries settles on bare steel parts inside your garage. Once a spring coil starts to oxidize, the corrosion creates tiny pits in the metal surface. Each pit becomes a stress point, and stress points are where springs fail first. It’s common for coastal South Florida springs to give out well before their rated cycle count because the metal was compromised long before the cycle limit was reached.
That’s the difference between a checklist written for a national audience and one written for Miramar homeowners. The parts that fail here aren’t usually the ones that fail in Phoenix or Denver. Here’s what takes the abuse:
- Torsion springs and extension springs – the coil faces the humidity with no protection, and pitting leads directly to snapping.
- Roller axles and hinges – steel pins inside the rollers seize up as they rust, which forces the opener and the door to work against drag.
- Bottom brackets and fasteners – the lowest hardware on the door sees the most moisture and shows oxidation first.
- Bottom seals and perimeter weatherstripping – rubber softens, dries out, and splits faster in heat, and the rainy season finds every gap.
Homes across Miramar, from the older neighborhoods near the turnpike to newer construction out toward the western part of the city, deal with the same basic environment. The door itself might be a Clopay, an Amarr, or a Wayne Dalton, but the wear pattern underneath is the climate’s work, not the brand’s.
The Monthly Walk-Around: What to Check in Five Minutes
You don’t need tools for the monthly check. You need five minutes, a flashlight, and the habit of doing it before something breaks instead of after. This is a visual inspection, not a repair session. If you spot a problem, write it down and schedule the fix.
- Look up at the springs. Open the door and look at the torsion spring mounted above the door on the header, or the springs along the tracks if your door uses extension springs. Are the coils even, or is there visible rust, flaking, or a gap where the spring has stretched? A two-inch gap in a torsion spring means it’s already broken or about to be.
- Scan the rollers and hinges. Run the door halfway up and look at each roller. The wheel should sit square in the track and turn without wobble. If the roller’s steel axle looks orange or brown, it’s rusting.
- Check the seals. With the door closed, look along the bottom seal and the sides. Any split, tear, or gap where you can see daylight is a leak point.
- Listen. Run the door up and down once. Grinding, squealing, or a rhythmic clunk all point at specific parts – usually rollers, hinges, or the opener’s drive gear.
- Test the balance. With the door about halfway up and the opener disengaged, the door should hold position when you let go. If it slams or drifts down, the springs are losing tension or out of adjustment.
That’s it. That’s the whole monthly routine. It takes less time than a pot of coffee and catches the majority of developing problems before they turn into a door that won’t open.
Corrosion Points That Matter Most in South Florida
Corrosion is the slow problem that turns into a fast failure, and here’s where to look for it. The three spots that matter most in this climate are the spring coils, the roller axles, and the bottom brackets. Each one has its own inspection criteria.
Spring coil pitting
Look closely at the surface of the coiled wire. Healthy spring steel has a smooth, oiled finish. Pitting shows up as small crater-like spots, dark streaks, or a chalky rust-colored powder on the coils. If you can see pitting along more than a small patch, the spring has lost a meaningful amount of its structural integrity and should be replaced before it snaps. Catching pitted springs early is one of the most valuable things you can do. A spring that snaps under tension can damage the door, the opener, and anything parked underneath – a professional garage door spring repair replaces a suspect spring on your schedule instead of in an emergency.
Roller axle rust
Each roller sits on a steel shaft held by a hinge. That shaft is bare steel, and it’s the first thing to rust. Look for orange discoloration, and for a roller that won’t spin freely by hand. A seized roller drags in the track, strains the opener, and wears the track itself. Rollers are inexpensive and easy to swap, but it’s important to catch them before the opener’s drive gear gets chewed up straining against the drag.
Bottom bracket oxidation
The bottom brackets are the heavy steel plates at the lower corners of the door that anchor the bottom of the cable and the bottom section. They sit closest to the floor, where moisture and the occasional splash from a rainy-season drive-in settle. Look for rust streaking, bubbling paint, or loose fasteners. Do not loosen or remove a bottom bracket yourself – the cable is under tension and that’s a serious safety hazard. Note the condition and let a technician handle any replacement.
Elsewhere on the property, this same oxidation pattern is familiar to anyone who’s watched outdoor metal in Miramar age. The garage door’s hardware is just another exposed metal surface, and it needs the same attention.
Lubrication: Why White Lithium Grease Falls Short Here
White lithium grease is the standard recommendation on most national maintenance guides, and for a lot of climates it works fine. In Miramar, it has a problem: as temperatures push past 90°F, white lithium grease thins out, turns tacky, and starts flinging off the parts it was meant to protect. What’s left behind attracts grit, and gritty lubricant does more harm than no lubricant at all. It also doesn’t do much to displace the moisture that settles on steel overnight.
What works better in this climate:
- Rollers and hinges: a silicone-based spray lubricant. It goes on dry, doesn’t attract grit, and holds up to heat. Avoid putty or petroleum-based greases on rollers; they collect dust and gum up in the tracks.
- Springs: a synthetic lubricant designed for spring steel, applied lightly along the coils. The goal is a thin protective film that displaces moisture, not a heavy coating that traps debris.
- Tracks: a light wipe-down with a rag and a small amount of the same silicone spray. Never grease the tracks heavily – the rollers need to roll, not slide.
- Opener drive screw or belt: follow the manufacturer’s recommendation for your unit. If you have a LiftMaster or Chamberlain opener, the manual will specify what the drive mechanism needs and what to leave alone.
A simple lubrication routine
- Wipe any old grease or grit off the rollers, hinges, and spring coils with a dry rag before applying anything new.
- Spray the hinges and roller axles lightly with silicone lubricant. A short burst per hinge is plenty.
- Apply a thin, even film of synthetic lubricant to the spring coils. Wipe off the excess.
- Run the door up and down a couple of times to work the lubricant into the moving surfaces.
- Wipe down the tracks with a dry cloth. No grease on the track surface itself.
Do this twice a year, and again after any stretch of especially wet weather. If your door hasn’t been lubricated in a long time, expect the first pass to make a noticeable difference in noise and smoothness.
Bottom Seals and Weatherstripping in Rainy Season
Miramar’s rainy season is hard on rubber. The bottom seal along the door’s lower edge and the weatherstripping around the perimeter are your first line of defense against water, wind, and pests. When they fail, water gets in, and water in a garage means a wet floor, slick concrete, and moisture creeping up into the door’s lower hardware.
Here’s what to check on the seal and weatherstrip, and what each finding means:
- Visible daylight under a closed door means the seal isn’t making contact. Water and air get through the same gap.
- Split or torn rubber – any crack wider than a hairline will let water through in a driving rain. Replace the section.
- Stiff, hardened rubber – when the seal won’t flex back after you press it, it’s lost its sealing ability even if it looks intact.
- A seal that’s pulling away from its channel – usually the retainer is loose or the rubber has shrunk. Both are fixable.
- Water pooling just inside the door after rain – the seal or the door’s bottom alignment is off, and that’s worth looking at before the rainy season is in full swing.
Replacing a bottom seal is one of the more approachable tasks on this list for a confident homeowner, since it doesn’t involve the spring or cable system. If the door is a Wayne Dalton or a Clopay, the seal is often a specific profile, so match the replacement to the door’s make. If you’re not sure of the profile, a technician can identify it quickly and swap it in one visit. A well-sealed door also keeps the garage cooler, which is a nice side benefit during the warmer months in Miramar.
Doors that live on homes in the western part of Miramar, where afternoon storms roll through in the warmer months, tend to show this wear fastest. Worth checking the seals after any heavy rain stretch.
Wind-Load Hardware: What Florida Code Requires and How to Check It
Florida’s building code is stricter than most states about how garage doors are reinforced against wind, because the state sits in a hurricane zone. That means the hardware that holds your door together under load – the horizontal track brackets, the reinforcement struts, and the anchor points – is a genuine safety system, not decoration. If you own a home built or renovated under Florida code, your door should have this hardware. If you’re not sure it’s there, it’s worth checking.
What wind-load hardware looks like
- Horizontal track brackets – these are the reinforced metal brackets that attach the horizontal tracks to the wall or ceiling, distributing the load the door puts on the tracks.
- Strut reinforcement bars – steel bars bolted across the top or middle of the door panel to stiffen it against pressure. You’ll see them as horizontal bars running the width of the door.
- Anchor bolts and fasteners – the bolts holding the track brackets and the header to the structure. These are what keep the whole assembly attached when wind pressure hits.
How to check the hardware without getting under the door
- With the door closed, look at how the horizontal tracks are mounted. There should be metal brackets at intervals – not just a track hanging from ceiling straps.
- Look for horizontal bars across the door panel. If you don’t see any, your door may be missing wind-load reinforcement, or it may be a smaller door that doesn’t need it. If in doubt, ask a technician to confirm.
- Check the visible bolts and fasteners by hand. You’re looking for loose or oversized gaps around the anchor bolts, rust streaks, or wobble when you push gently against the track bracket. Don’t climb or reach under the door – just check what you can reach comfortably from the side.
- Note anything that looks loose, rusted, or missing and have it inspected. Wind-load hardware that’s come loose is a real problem before the first storm, not just during one.
Wind-load hardware inspection is genuinely important in Miramar, and it’s the part most homeowners skip. If a technician finds a loose bracket or a missing strut, they’ll tell you exactly what’s needed under the code. Ask your city’s building department if you want the specifics for your home’s construction date and door type.
How Often Should You Do Each Task?
Most garage door maintenance advice either says “once a year” or lumps everything together. The reality is that different tasks have different cadences. Here’s a simple guide organized by how often each one needs doing:
Monthly
- Visual walk-around: springs, rollers, hinges, seals, and a listen for new noises.
- Look for rust or pitting on the springs and roller axles.
- Quick check that the door reverses when it meets an obstruction (the safety reverse test – see below).
Twice a year
- Full lubrication of rollers, hinges, springs, and tracks (before the rainy season and after it, roughly).
- Tighten visible hinge and bracket bolts by hand.
- Inspect and clean the bottom seal and perimeter weatherstrip.
Once a year
- Full professional inspection if your door is more than a few years old, or if you’ve never had it checked. This covers the spring tension, cables, drum, and wind-load hardware.
- Test and adjust the opener’s force and travel limits per the manual.
- Safety sensor alignment check (the photo-eye at the bottom of the tracks).
Professional only – never DIY
- Torsion spring tension adjustment or replacement.
- Cable replacement or cable drum work.
- Bottom bracket replacement or repair.
If your door has never been serviced and it’s more than five or six years old, start with the annual professional inspection. From there, the monthly and twice-yearly tasks are the ones that keep it running between visits.
What You Can Do vs. What Needs a Technician
The single most useful distinction in this checklist is which tasks are safe for a homeowner and which ones aren’t. A garage door’s torsion spring and cable system stores an enormous amount of energy. When a spring lets go, the force is enough to seriously injure anyone standing near it. Cables can lash out when the tension releases. That’s why spring, cable, and bottom bracket work is a technician job, full stop.
Safe for a homeowner (with care)
- Monthly visual inspections.
- Lubrication of rollers, hinges, springs, and tracks with the right silicone or synthetic product.
- Tightening visible hinge and bracket bolts by hand.
- Cleaning the tracks and wiping down surfaces.
- Replacing a bottom seal if you’re confident in the door’s make and the seal profile.
- Testing the opener’s safety reverse and photo-eye sensors per the manual.
Needs a technician
- Spring replacement or tension adjustment of any kind.
- Cable, cable drum, or bottom bracket work.
- Roller replacement if the roller won’t come out cleanly (a ceased roller can be stubborn).
- Track realignment or replacement.
- Opener repair for stripped gears, dead motors, or a board that won’t respond.
- Wind-load hardware inspection and repair.
- Panel replacement after damage.
We’ve seen plenty of doors where a homeowner tried a spring adjustment and got hurt, or made the problem worse by guessing at the tension. The savings never outweigh the risk. If your monthly check turns up a spring that’s pitted, a cable that looks frayed, or a bottom bracket that’s rusted loose, that’s the moment to call rather than reaching for a wrench. Our technicians have up to 9 years of experience with these systems, and spring work is one of our core specialties for good reason – it’s the most dangerous part of the door.
Common Mistakes to Avoid
- Using white lithium grease on the springs and rollers. It thins and flings off in Miramar’s heat, leaving the parts dry and gritty. Use a silicone-based or synthetic product instead.
- Skipping the spring inspection because the door still works. A pitted spring that’s still moving is one cycle away from snapping. Look at the coils every month, not just when something feels wrong.
- Greasing the tracks. Tracks should be clean and dry. Grease on the tracks makes the rollers slide instead of roll, which wears them out faster and strains the opener.
- Ignoring the bottom seal until it’s torn. In Miramar’s rainy season, a failing seal lets water in and softens the lower hardware. Replace it before the storms, not after.
- Adjusting spring tension yourself. This is the most common serious-injury mistake we see. Torsion springs hold thousands of pounds of force. Leave it to a trained technician.
- Forgetting the wind-load hardware. Homeowners tend to clean and lubricate the visible parts and never look at the track brackets and struts. Those are the parts that matter in a storm.
- Putting off opener repair until it dies completely. A grinding or straining opener usually has a specific, fixable cause – a stripped gear, a worn belt, a failing capacitor. Waiting turns a repair into a replacement.
- Assuming a national checklist applies here. The cycle-rated lifespan on a spring assumes dry air. Miramar’s humidity is the variable that shortens it, and the checklist should reflect that.
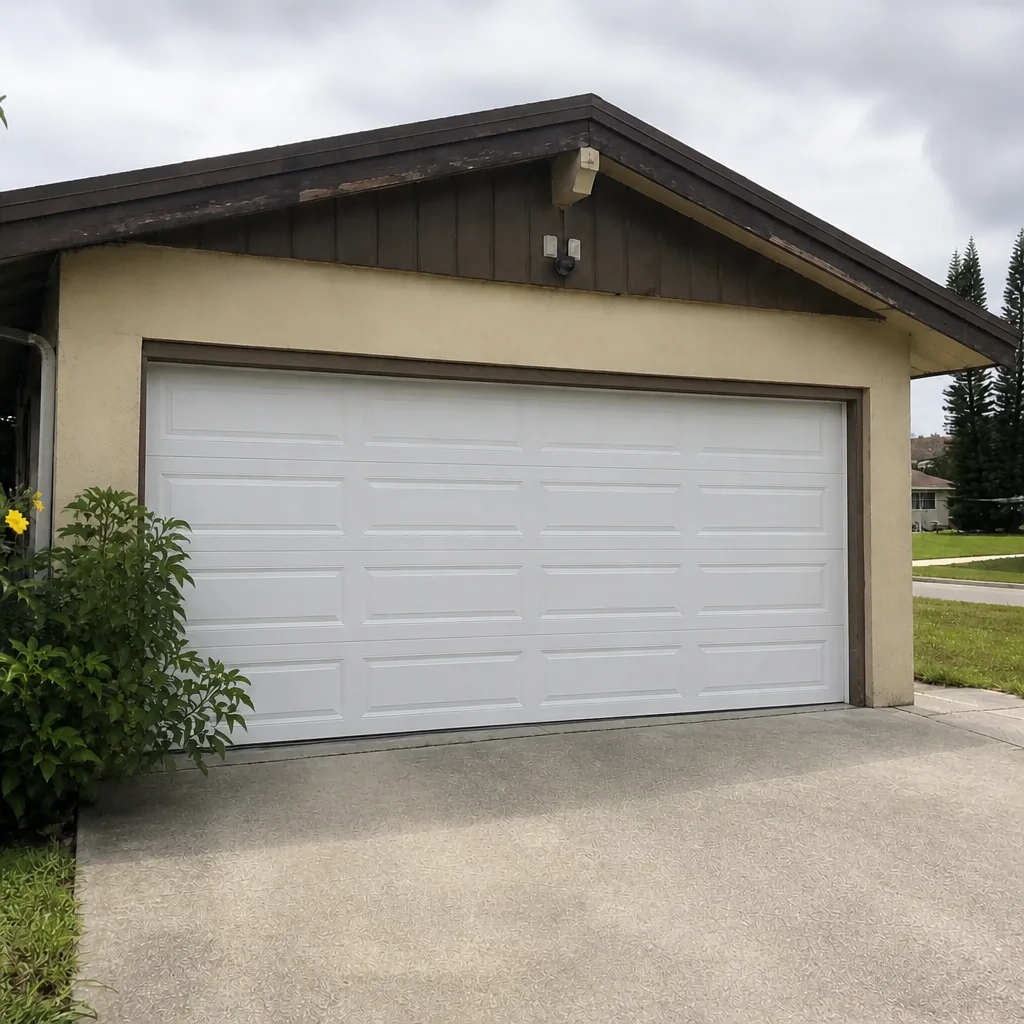
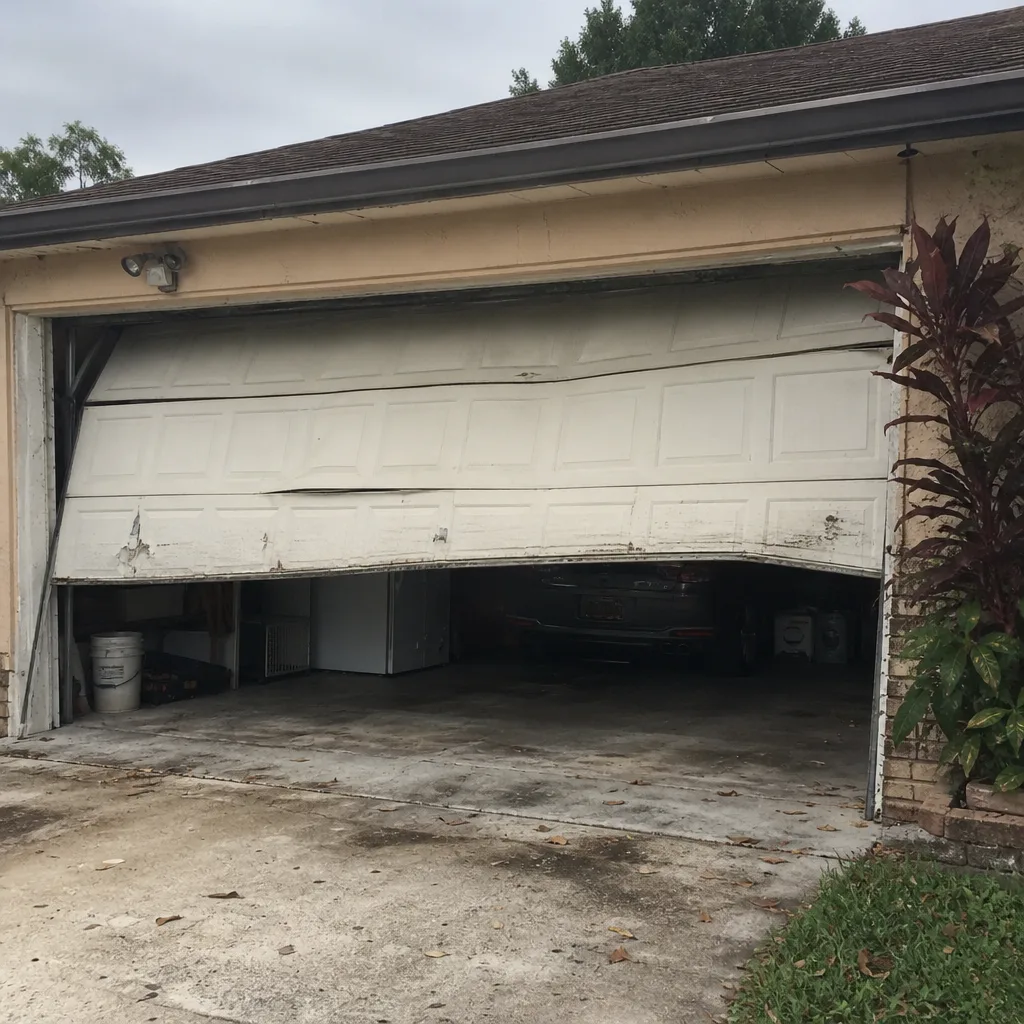
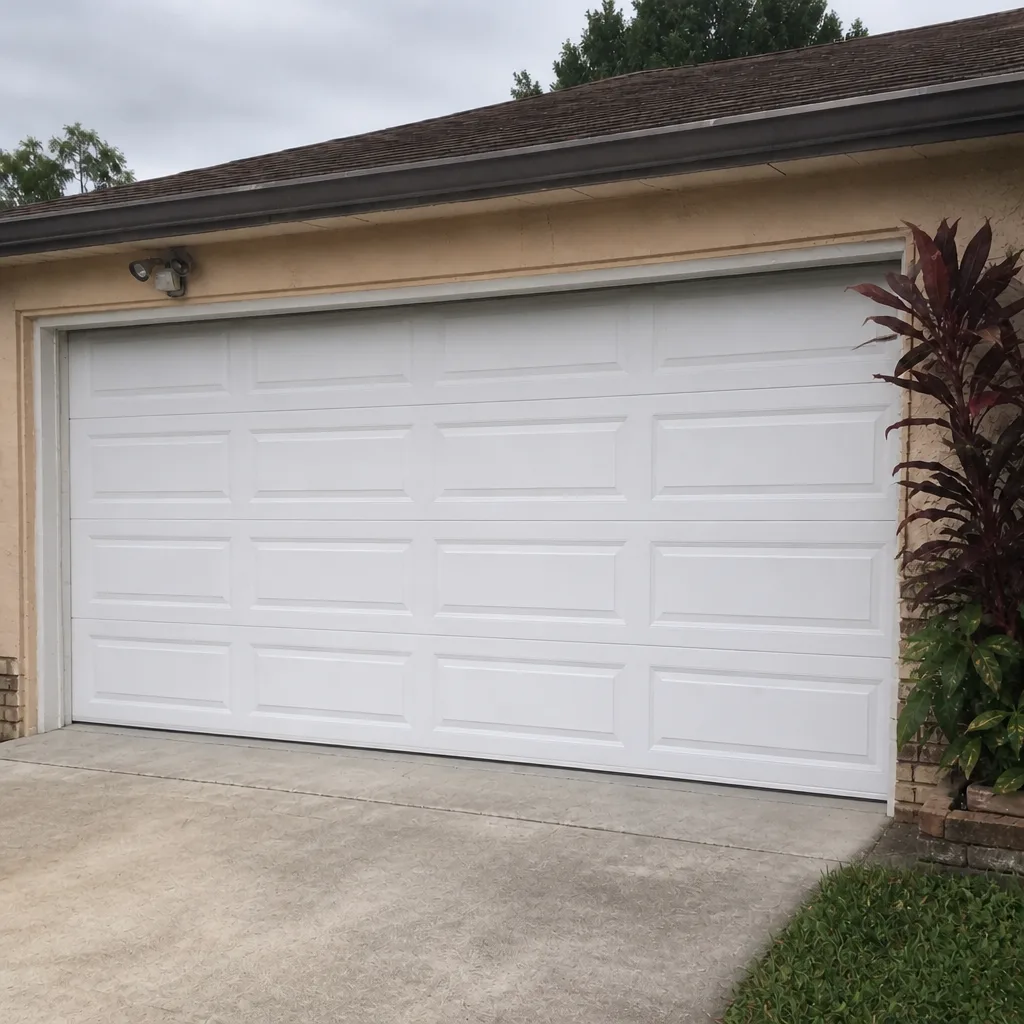
See the difference
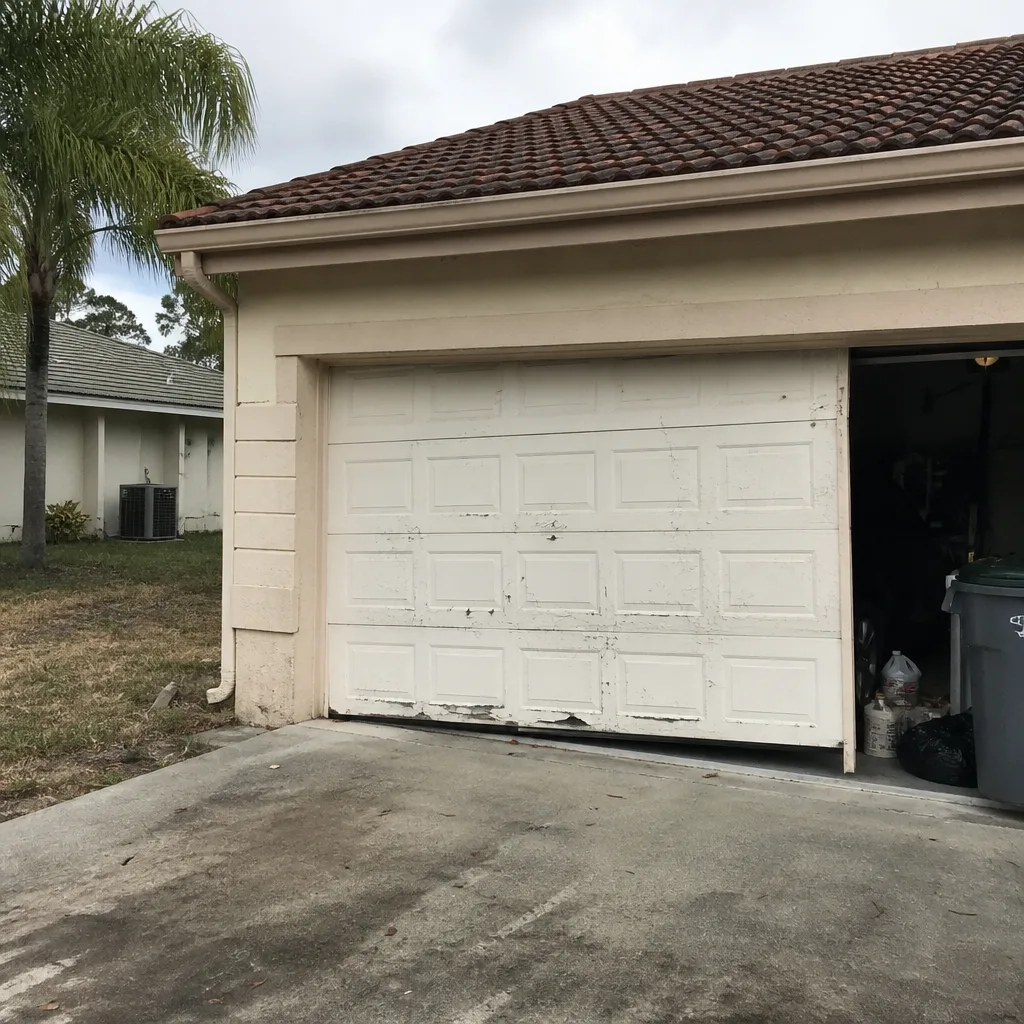 Before
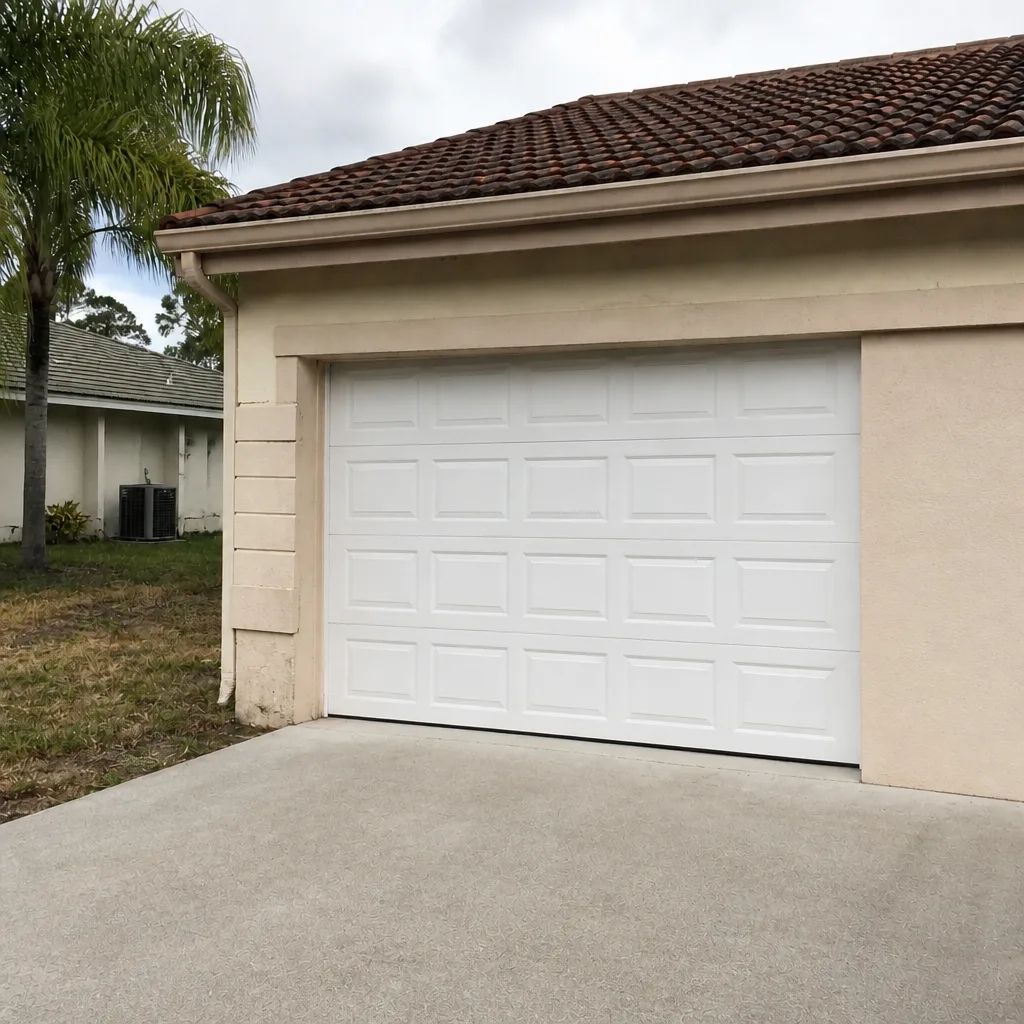 After
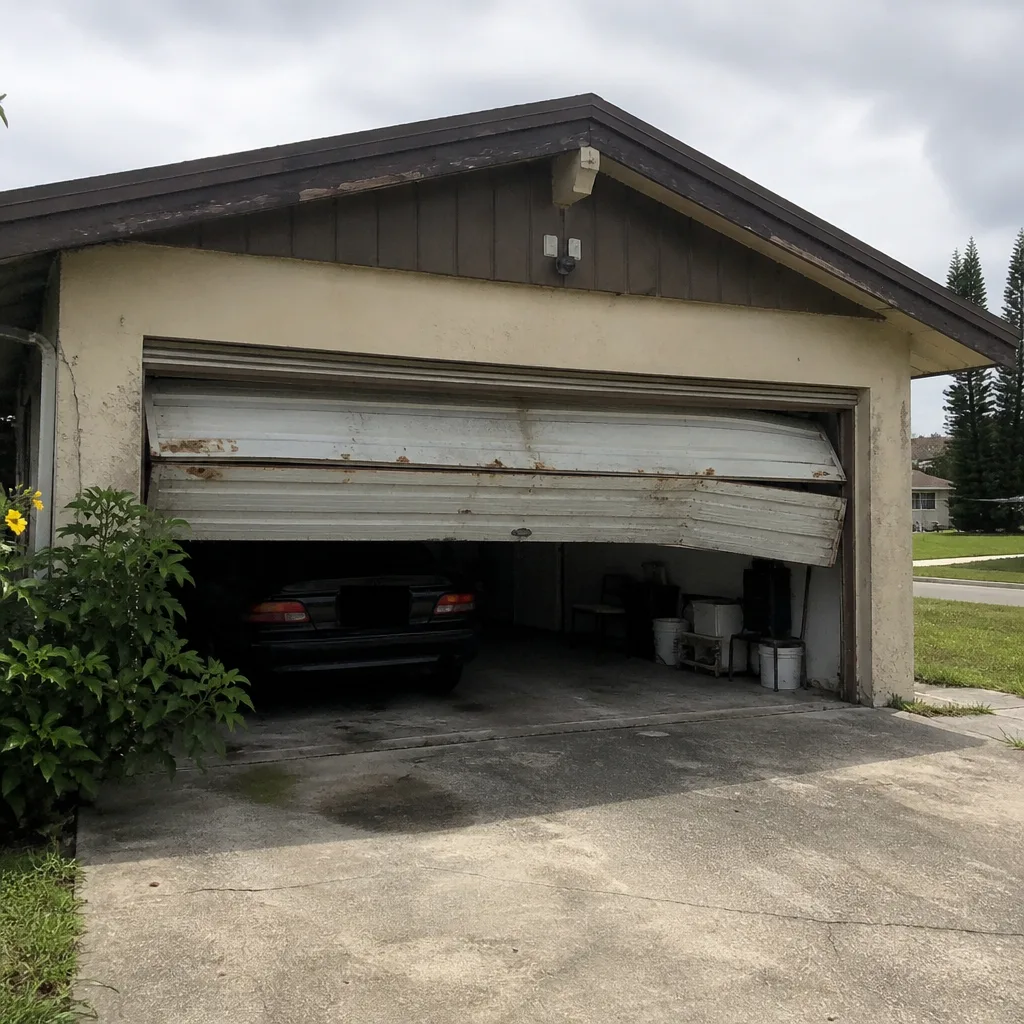 Before
 After
 Before
 After
When to Call a Professional
Some signs mean stop the checklist and call for help. A spring with visible pitting, a gap in the coils, or a snap you can hear from inside the house is a call-now situation. A door that hangs crooked, a cable that looks frayed or out of its drum, or a bottom bracket that’s rusted loose all fall into the same category. Any opener problem that involves a burning smell, a grinding gear, or a motor that runs but doesn’t move the door is worth a technician’s eyes. And if your annual walk-around turns up wind-load hardware that’s loose or missing, have it looked at before storm season.
Miramar Garage Door Repair Co offers free estimates in Miramar – call (866) 937-7841. We work on all eight major brands, including Genie, Clopay, Amarr, and Wayne Dalton, so there’s no guesswork when we get to your door. We answer 24/7. Fast dispatch from 7am to 7pm, Sunday through Friday. For a full brand list and service overview, visit Miramar Garage Door Repair Co.
Frequently Asked Questions
Twice a year is the right cadence for most Miramar homes – once before the rainy season and once after. Use a silicone-based spray on rollers and hinges and a synthetic spring lubricant on the coils. Avoid white lithium grease because it thins in the heat and attracts grit. If your door is noisy or the weather has been unusually wet, an extra lubrication pass won’t hurt. Call (866) 937-7841 if you’d like a technician to check the door and show you what to look for – estimates are free.
Broken torsion springs are the most common failure we see, and the humidity here is a big reason why. Moisture settles on the bare steel of the spring coils, causing pitting that weakens the metal until it snaps. Roller axle rust is a close second. Checking the springs and rollers monthly catches most developing problems before they turn into a no-open situation. Call (866) 937-7841 if your spring looks pitted or you hear a loud snap – a professional garage door repair is safer than a DIY attempt.
No. Torsion springs and the cables attached to them are under very high tension, and the energy stored in a wound spring is enough to cause serious injury if it lets go unexpectedly. Spring replacement and tension adjustment require the right tools and training. Call (866) 937-7841 and we’ll send a technician who’s experienced with spring work. Estimates are free.
If you see daylight under a closed door, find split or stiff rubber, or notice water pooling just inside the door after rain, the seal needs replacing. In Miramar’s rainy season a failing seal lets water in and softens the door’s lower hardware. Match the replacement to your door’s make – Wayne Dalton and Clopay use specific seal profiles. Call (866) 937-7841 if you’d rather have a technician identify the right seal and swap it in – estimates are free.
Test the safety reverse feature monthly by placing an object in the door’s path and confirming the door reverses on contact. Check the photo-eye sensors at the bottom of the tracks for alignment and clean lenses. Listen for grinding, squealing, or a straining motor – those are signs of a specific, fixable problem. For LiftMaster, Chamberlain, Genie, and Craftsman opener work, call (866) 937-7841 for a professional garage door opener repair – estimates are free.
Florida’s building code is stricter than most states about garage door wind reinforcement, because the state is in a hurricane zone. Homes built or renovated under Florida code should have reinforced track brackets, strut bars, and properly anchored fasteners. Look for horizontal bars across your door panel and metal brackets mounting the tracks. If you’re not sure, ask a technician to inspect the hardware. Call (866) 937-7841 – estimates are free, and we’ll tell you exactly what’s needed under the code. For the full details specific to your home, ask your city’s building department.
The Bottom Line
Garage door maintenance in Miramar isn’t about following a generic national checklist. It’s about protecting the parts that the local climate attacks hardest: the spring coils, the roller axles, the bottom brackets, and the seals. Do the monthly walk-around, lubricate twice a year with a silicone-based or synthetic product, and inspect the wind-load hardware and bottom seal before the rainy season. Anything involving spring tension, cables, or the bottom brackets is a technician job. Everything else you can handle safely with a flashlight and the right lubricant. That routine will keep your door running smoothly and head off the problems that turn into emergencies. Call (866) 937-7841 for a free estimate on any repair or inspection.
Written by the team at Miramar Garage Door Repair Co.